Summer Bouquet Class: By Carling A.W. Elder
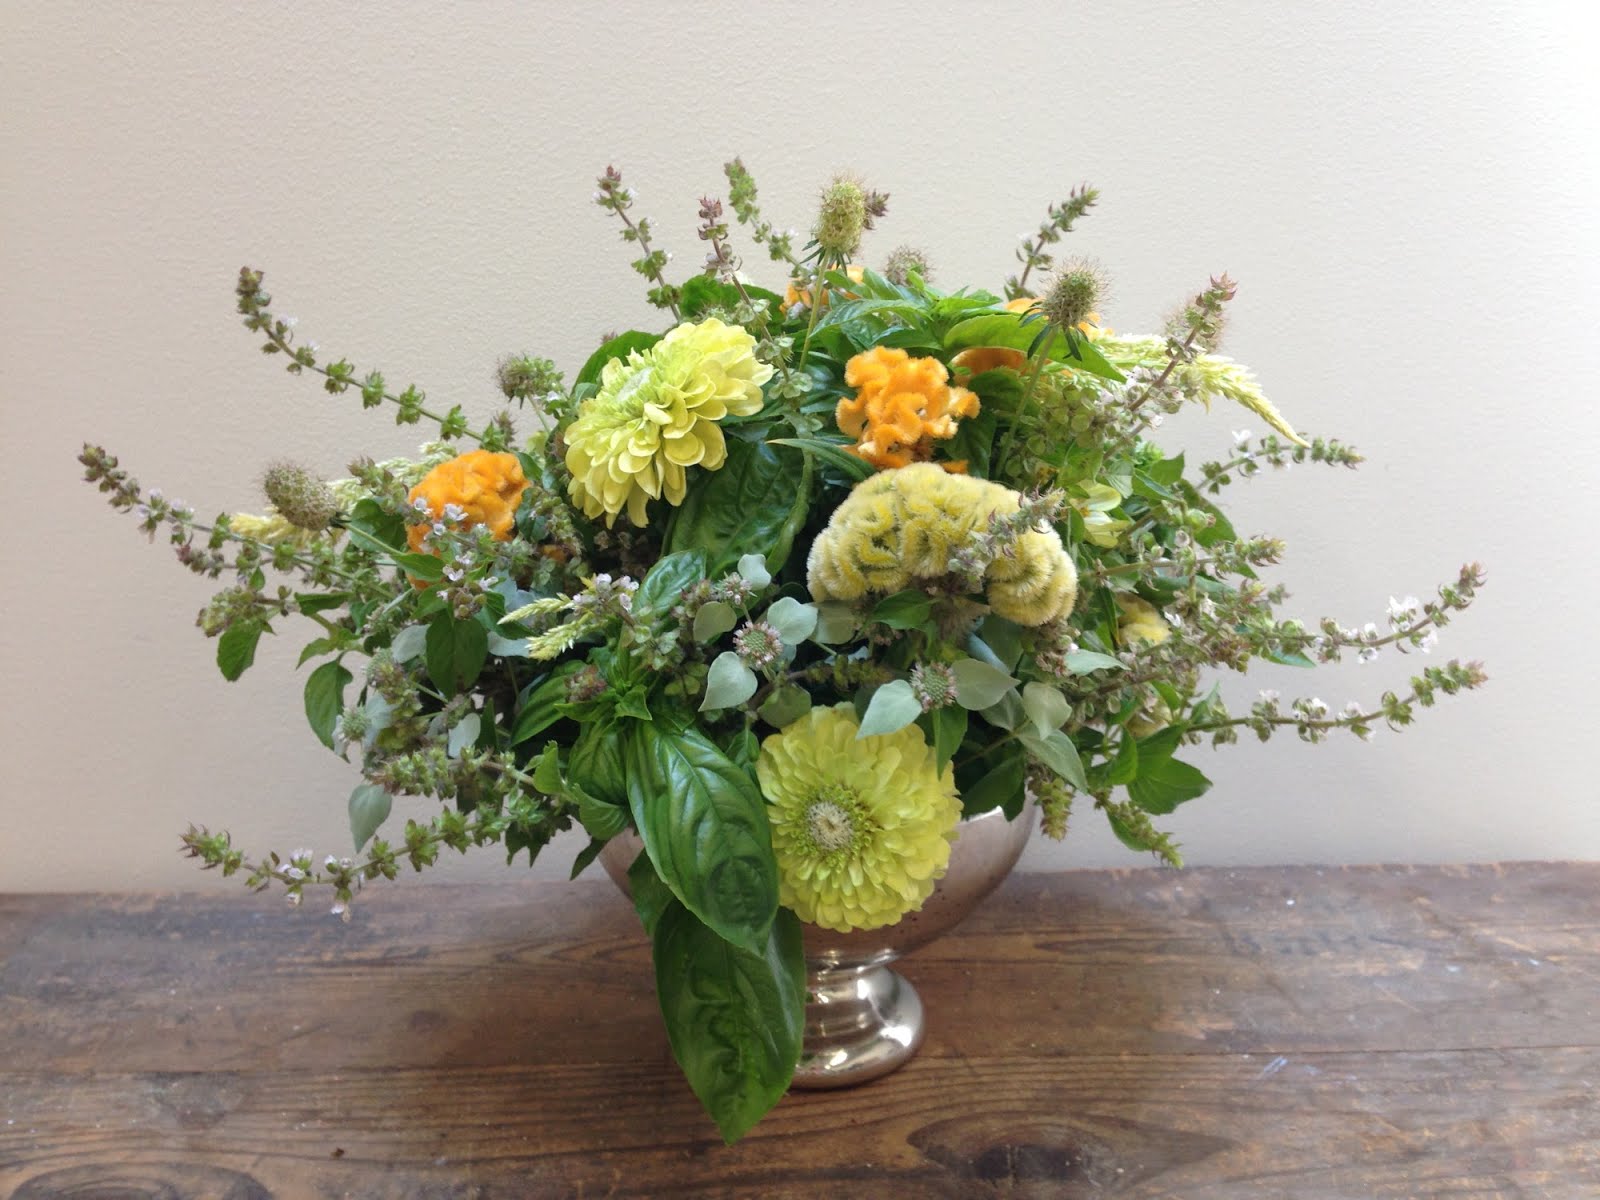
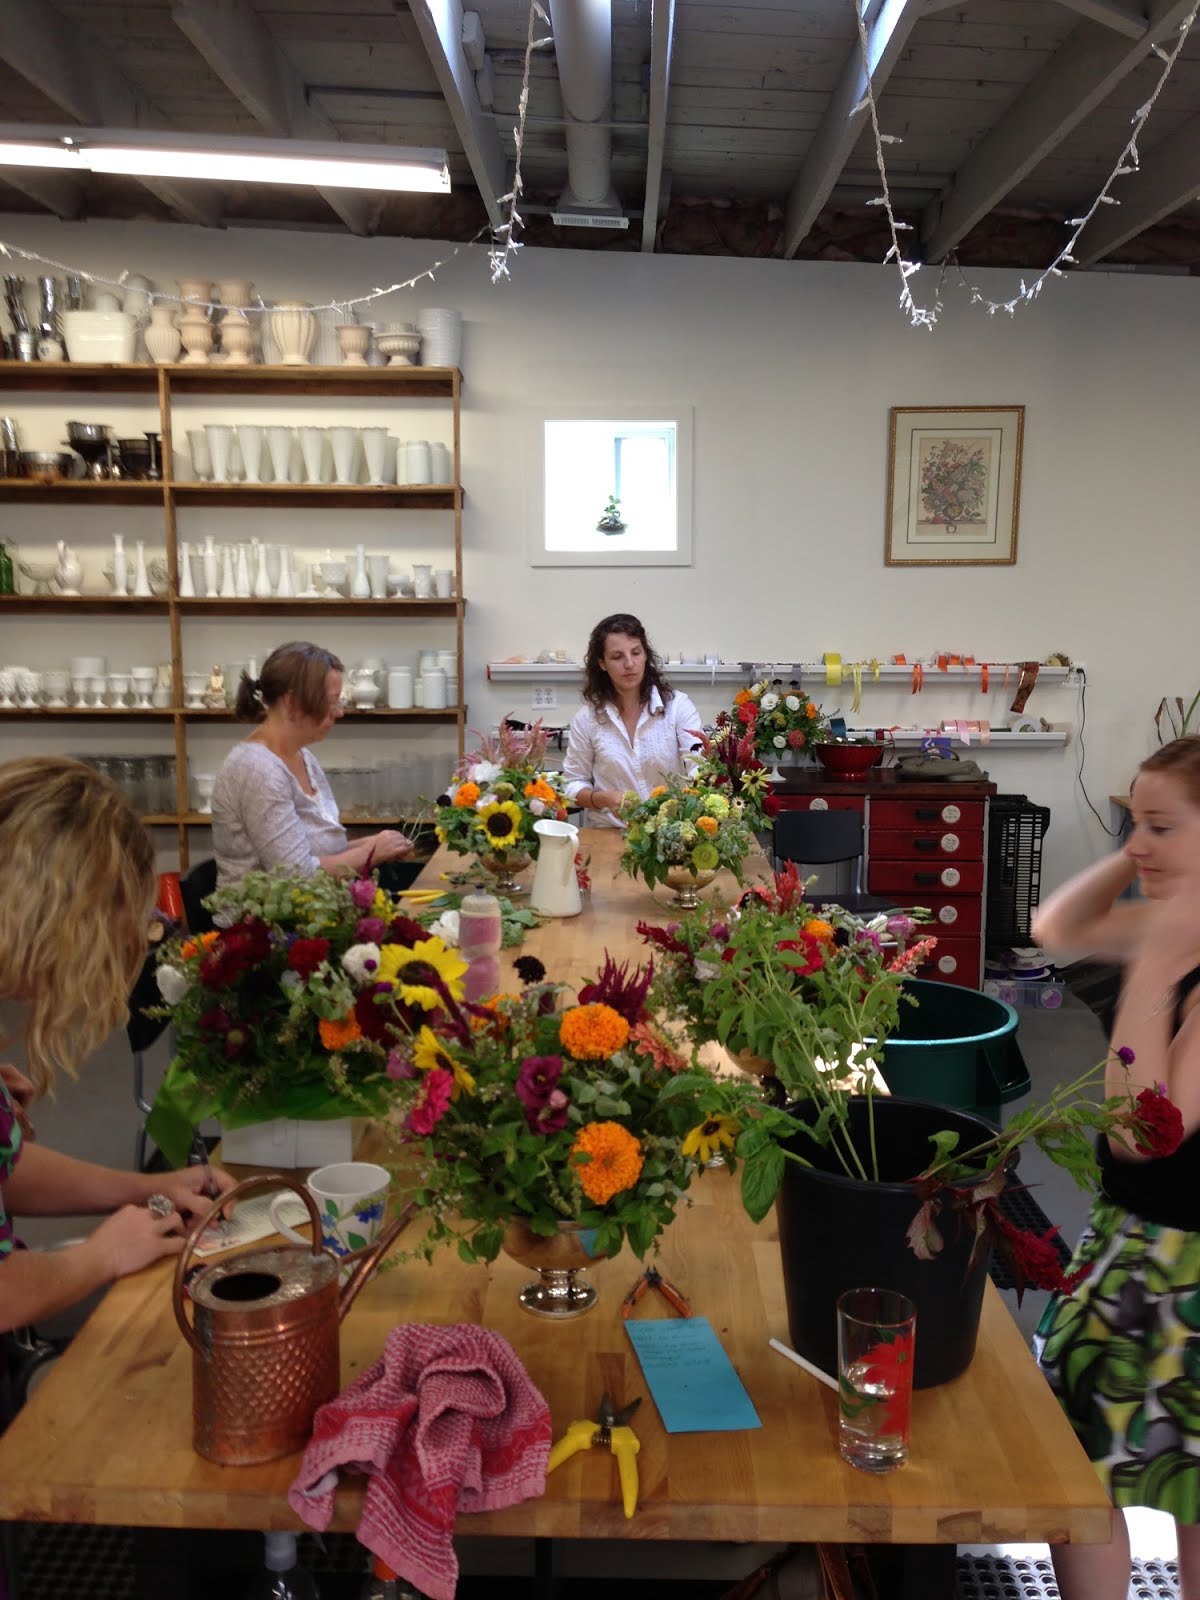
![[photo-64.jpg]](https://blogger.googleusercontent.com/img/b/R29vZ2xl/AVvXsEgjo5uVMOFttDJOhwxMB-NfNSll0EP0G4Vu4JrVMghK_xbq9R_IMv5gJWhIEA6wySLrEgJDnhiqWi6U8OUf4cKNaCr0HFJlpIofyvKlYNPkfQTL1i7rr26kyVO1za8m1bE1hpUxYjKBuwg/s1600/photo-64.jpg) Friday morning, I got to do something really fun. I got to go to my work, and not work at all! Yesterday morning, I was lucky enough to attend a Summer Bouquet class at Local Color Flowers taught by my talented boss Ellen Frost where I got to sit back, play with some beautiful local flowers, and revel in being a student again.
Friday morning, I got to do something really fun. I got to go to my work, and not work at all! Yesterday morning, I was lucky enough to attend a Summer Bouquet class at Local Color Flowers taught by my talented boss Ellen Frost where I got to sit back, play with some beautiful local flowers, and revel in being a student again.
I’m always quick to tell anyone who asks that one of the best things about designing with local flowers is the ever changing variety and availability of the flowers. Each week, there are different colors, textures, shapes, and scents to examine and explore, and it keeps floral design from ever becoming boring or static. I love the challenge of working with new materials each week, and I always feel it’s my responsibility to the growers to make their flowers shine in each design.
For the class this week, there was basil, celosia, mountain mint, lisianthus, gomphrena, zinnias, sunflowers, and marigolds to choose from. The mint and basil smelled fresh and sweet, and the multicolored zinnias lit up the studio table with their brilliance. We each got a silver or white, low footed bowl to use as a vase, and quickly filled it with a ball of chicken wire to create an eco friendly support structure for our arrangements.
As Ellen explained the basics of floral design, we passed a golden marigold around the design table and stuck our faces into it, delighting in its earthy scent. I watched the excitement on the faces of my classmates as they learned how to cut stems on an angle, the importance of foliage and texture, and the benefits of buying local flowers. As I choose green and orange flowers for my design, I watched others gravitate towards their favorite colors of purple, red, and yellow. Once we had chosen our flowers, we each grabbed a pair of clippers and, as Ellen likes to say, “Dove in!”
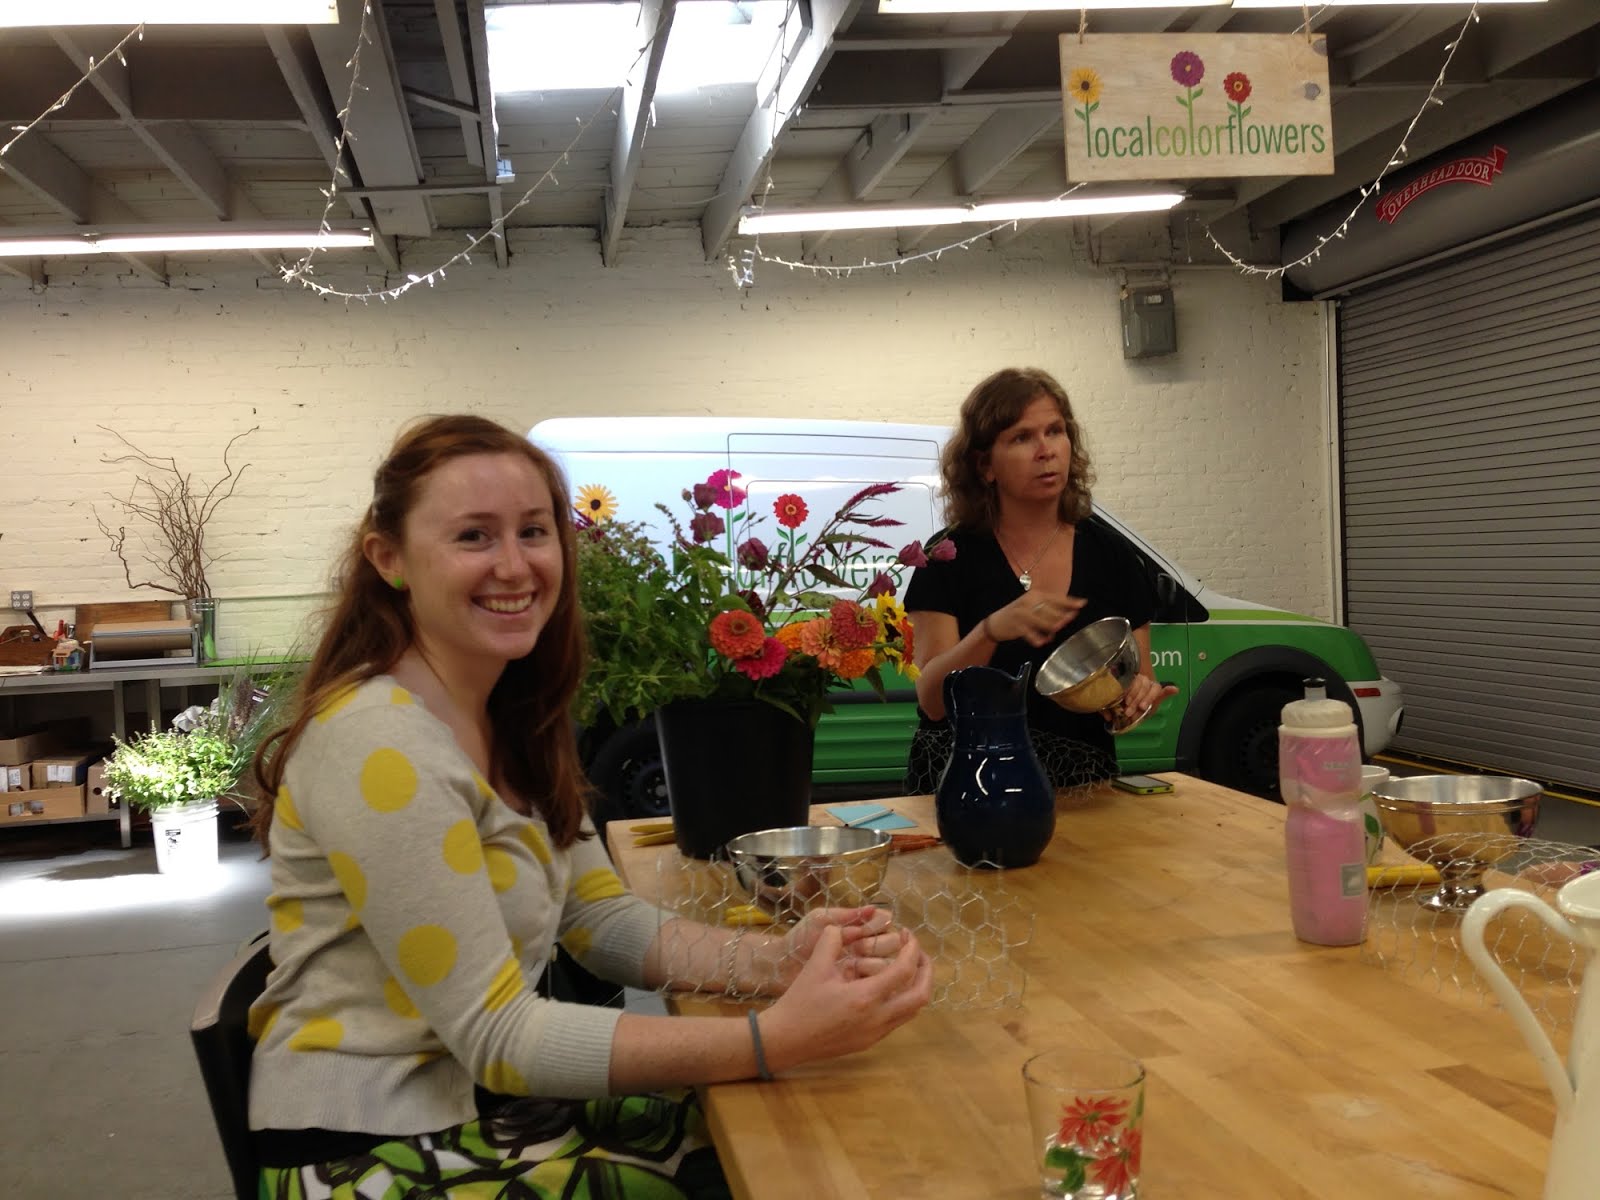
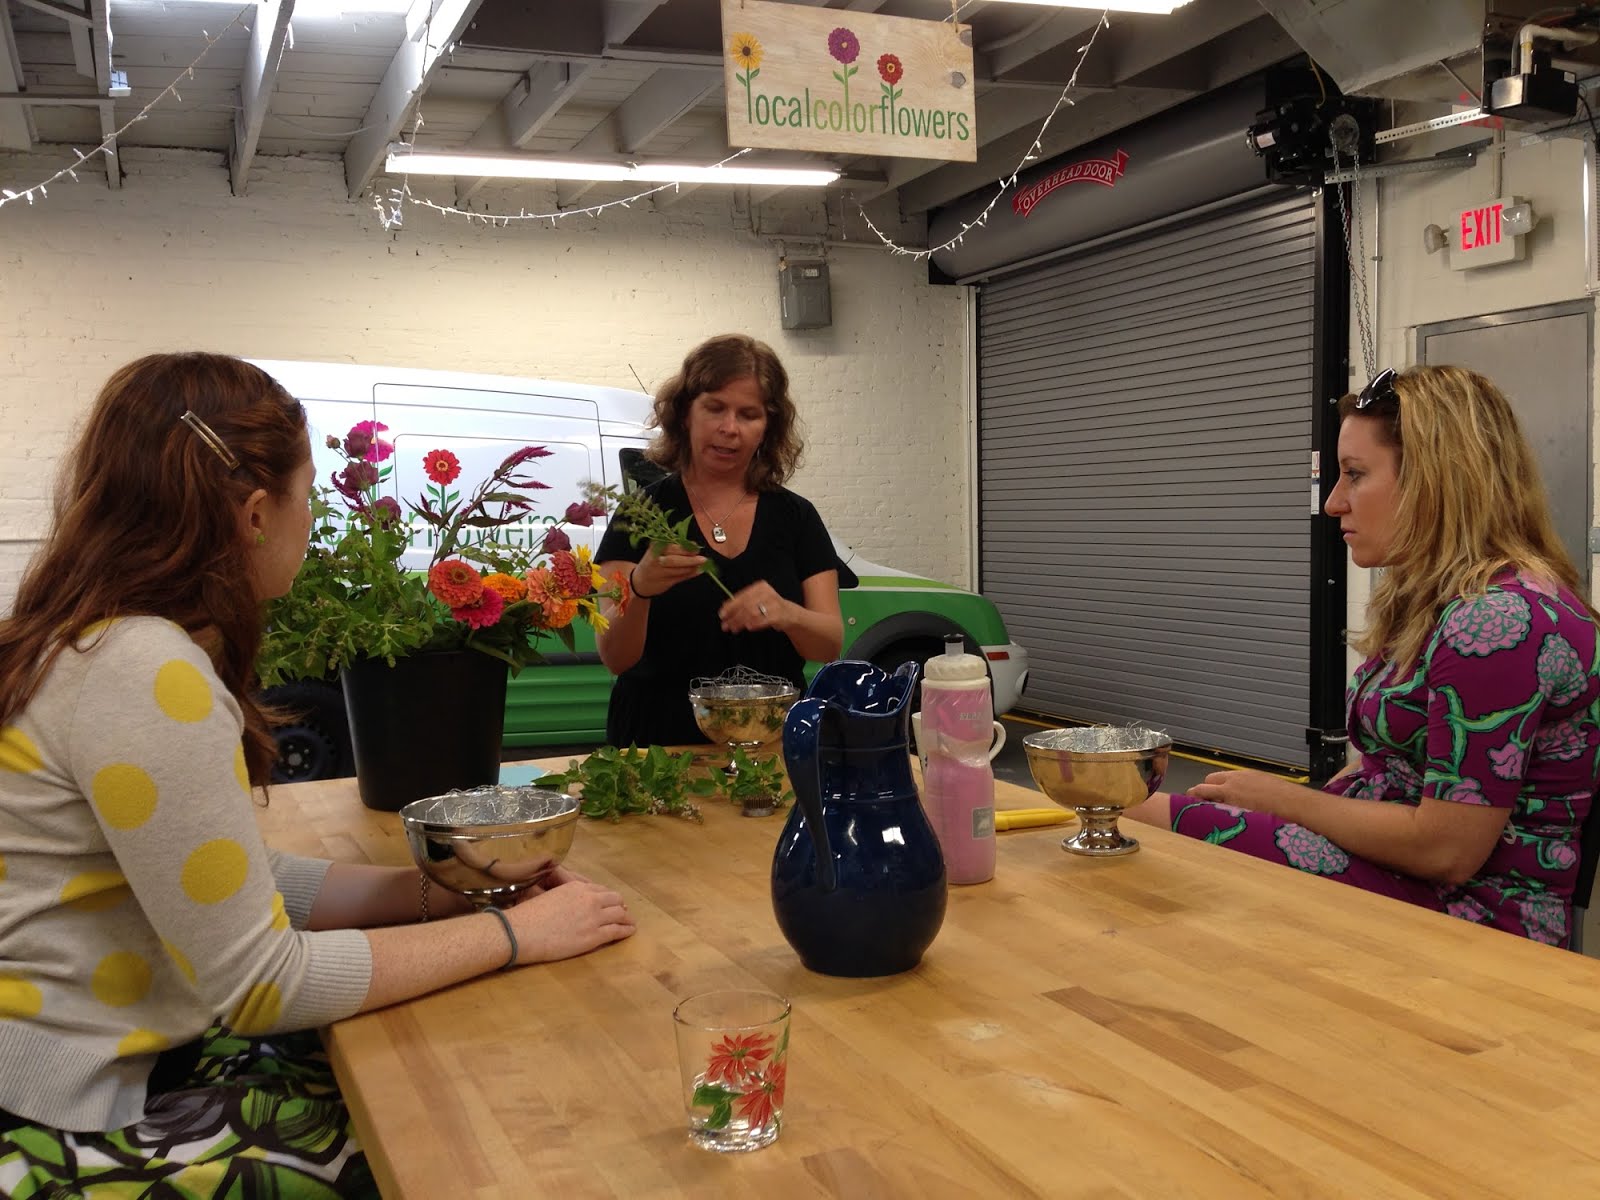
My friend Julie accompanied me to the class. When we got home, she asked me “Was it useful for you?” wondering if I found the class helpful since I’ve been doing floral design for a few years. I answered with a resounding “YES!” At yesterday’s class, Ellen’s teaching, summer’s fresh flowers, and the basic elements of floral design, gave me a deliciously strong shot of inspiration. While creating our summer bouquets, I saw my classmates awaken to the joys of floral design, and I thought about the many reasons I love floral design so much.
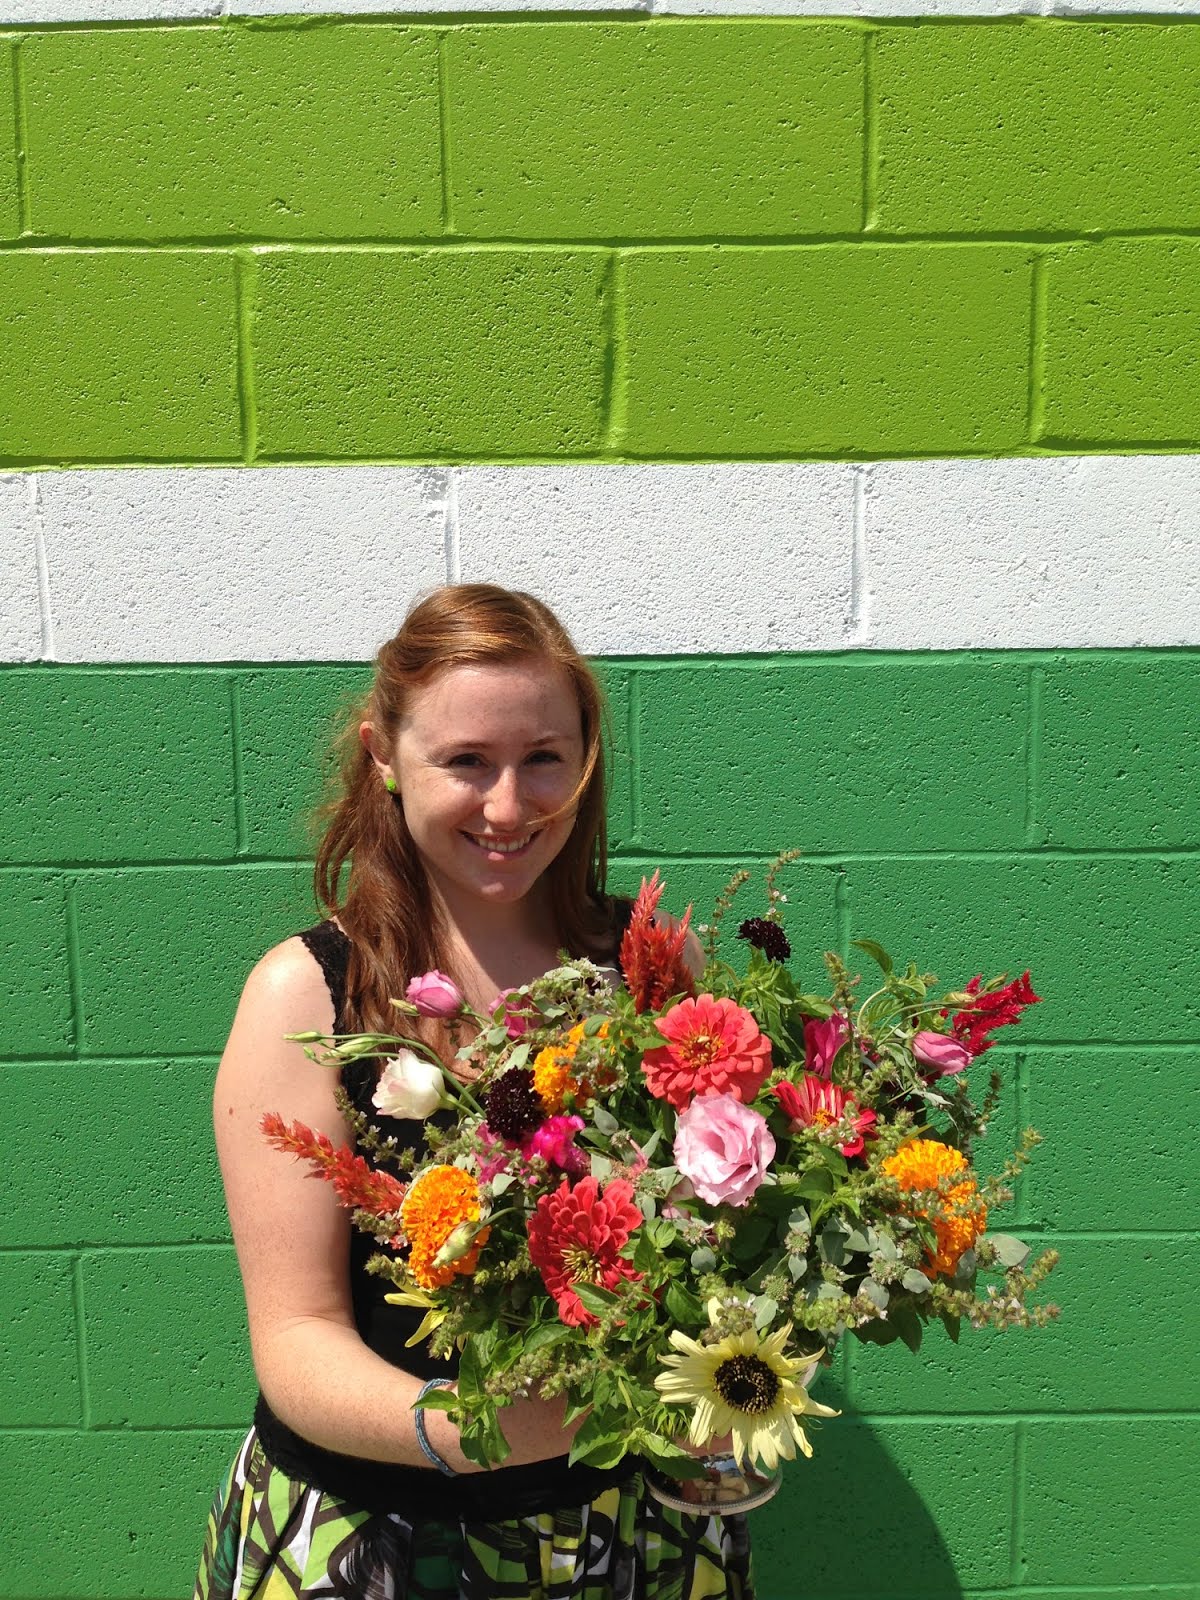
At yesterday’s design class, I realized that no matter how good a designer I ever become, my goal is to always approach floral design with a beginners eyes: with enthusiasm, with curiosity, and with a desire to learn.
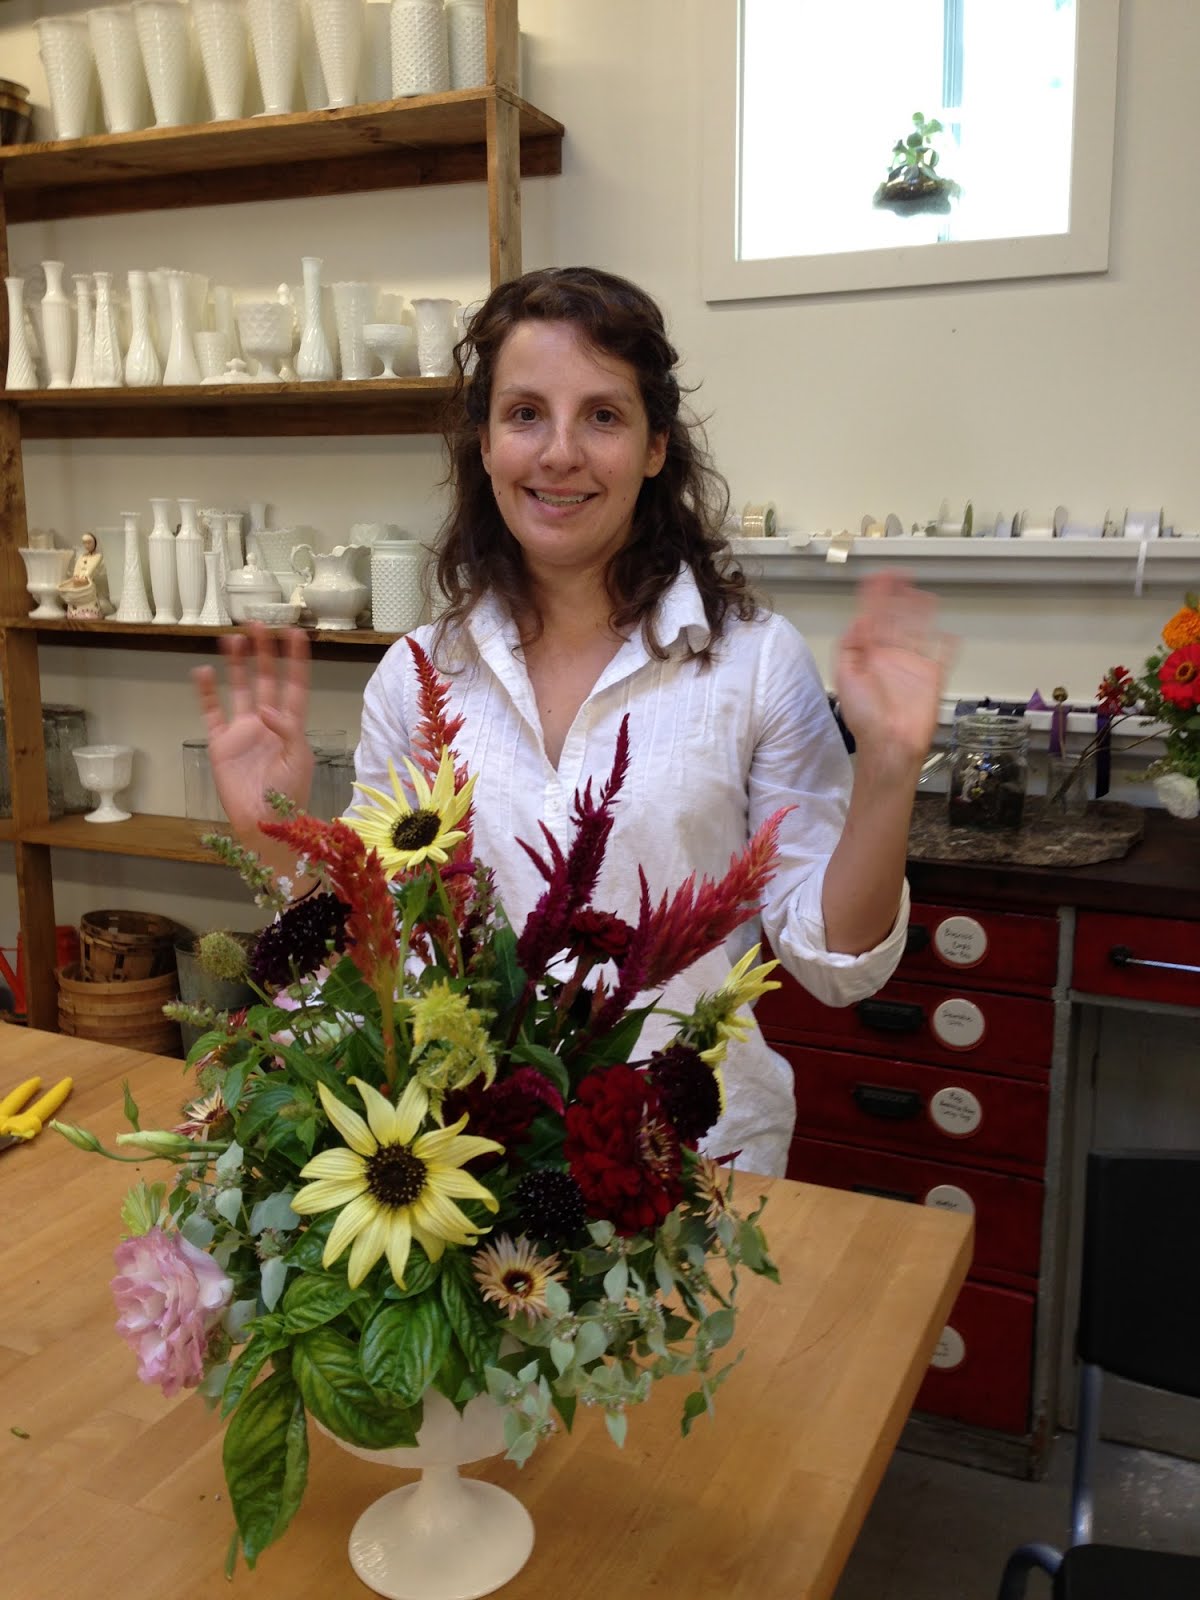
In other words, I will forever strive to be a student of my favorite artform, floral design.